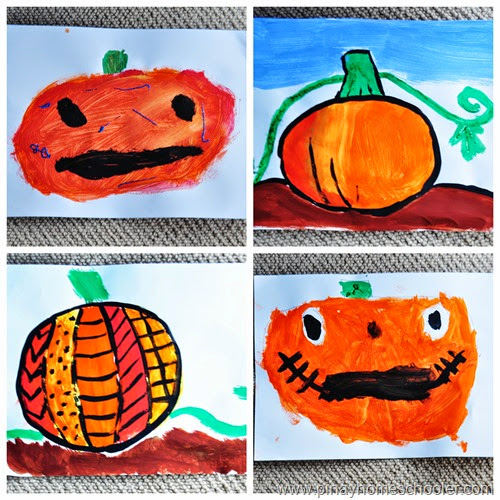
No, we’re not carving pumpkins this Halloween. First, I don’t have the tools and second, we have no space for them. So instead we painted pumpkins and stick them on the crystal window of my son as decors!
History: Earliest People
Saturday, October 11, 2014
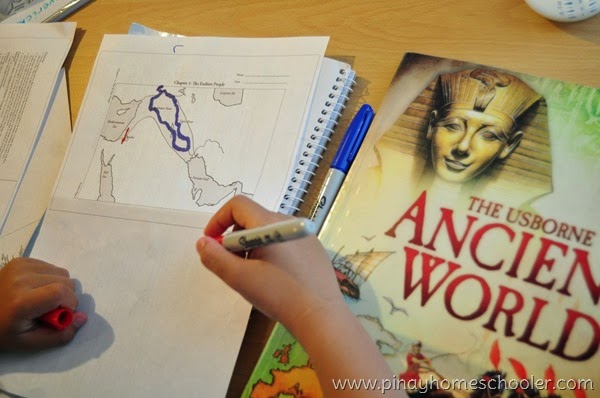
Here are the activities for the first chapter of the Story of the World Vol 1 Earliest People. (Based on the Activity Book Vol 1) [Affiliate link]
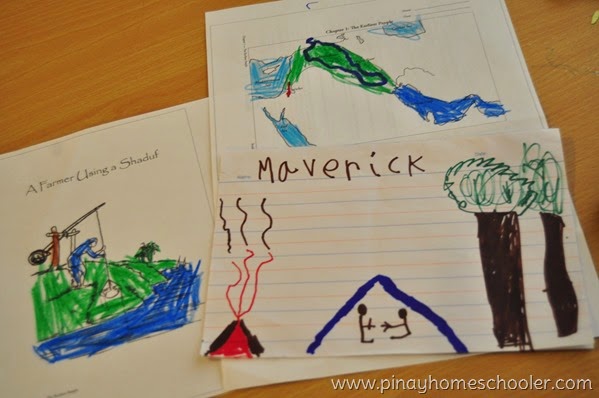
Map and Activity Sheets
I took a photo of Mavi’s interpretation of the nomads living inside a tent and with a campfire.
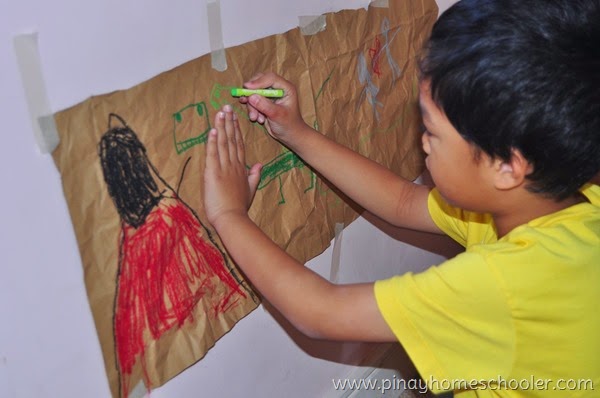
Cave Painting
The book also suggests that you try cave painting (pretend) as a means of communication or recording of events.
LEGO Project
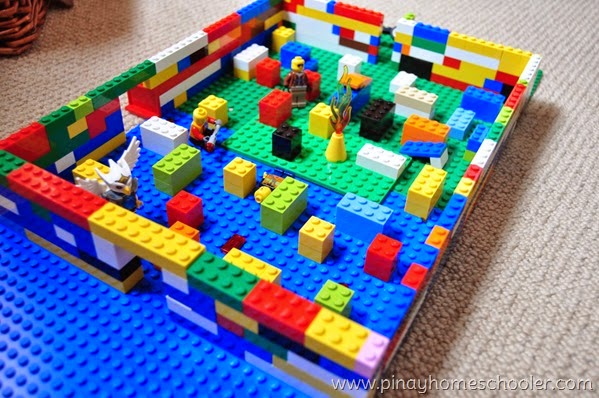
As much as possible to we love to incorporate LEGO in our work. So here we made Jericho, the first city… just as the book described it.
Bahay Kubo (Nipa Hut)
Monday, August 18, 2014
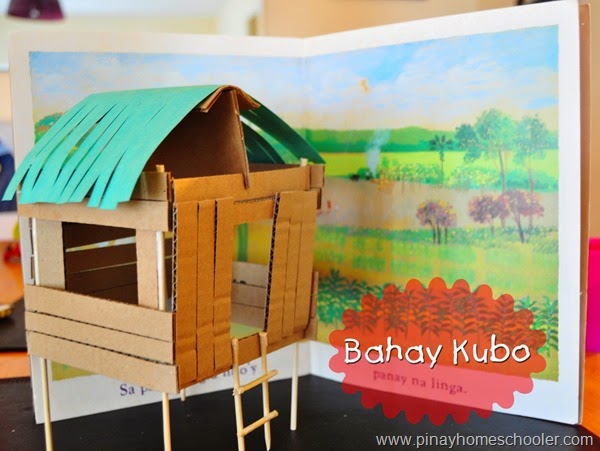
Bahay Kubo is square shaped house with no divisions, just a door and windows. It is made up of local materials such as wood or bamboo or nipa grass. It is a Philippine icon and represents the Filipino culture. Note that these houses are raised, for proper ventilation I guess since the flooring is made up of bamboo. Another reason is to avoid the flood.
Yes I have seen Bahay Kubo and have friends and relatives who used to live on this type of house. Until now, they still exist and I can’t wait to show them to Mavi. He has always been fascinated with Bahay Kubo. Maybe he can’t imagine how people can live on just a square house.
Thus, I decided to create a model using cardboard boxes from Book Depository.
There are still people who lives in this stilt houses and I can’t wait to show it to Mavi when we visit the folks this year :)
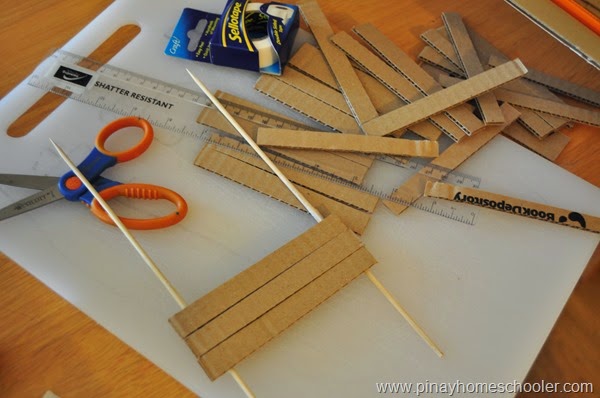
I cut out the cardboard boxes into strips then stick them on a wooden BBQ skewers.
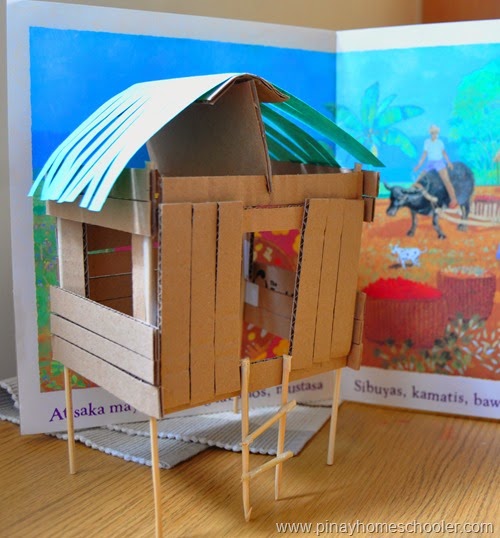
And here’s how the skeleton looks like when all four sides are attached. 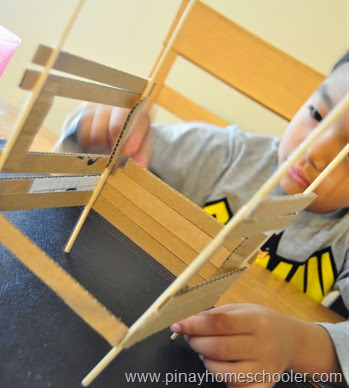
Adding the roof which is made up of cardstock and a wooden ladder here’s the end product.
Linking to:
Montessori Monday
TGIF Linky Party
Teach Beside Me
Preschool Corner
Teaching Mama
I Can Teach My Child
Home + School = Afterschool!
Springtime is Flower-time!
Wednesday, April 23, 2014
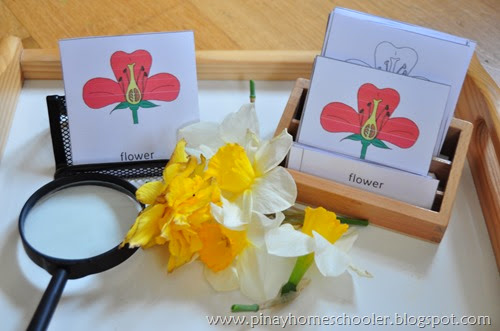
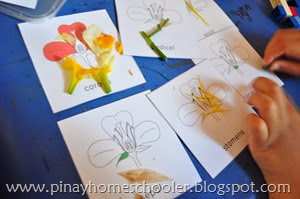
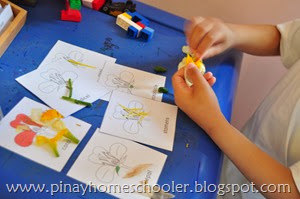
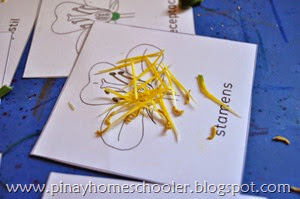
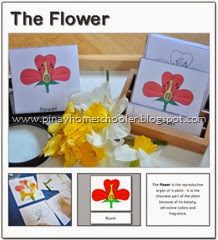
Hi everyone! There are lots of daffodils growing in the yard and Mavi has been constantly picking them up for his "collection". So to make use of the flowers I pulled out our flower nomenclature cards and told him that he will need to dissect the daffodils to learn about its part.
Since we did this activity a few years ago, he was so excited to do it again. Kids love to do this! I know how dreadful it is to learn about the parts of a flower (with all those weird names). But if you get to this activity with your kids, with a tactile activity, they will definitely learn faster and the retention is much better.
As we dissect the daffodil, I would ask him questions like "how does the petals feel like?", "why do you think that some flowers are yellow some are red?". As we go along, I also discuss the functions of each parts. He mentioned that his favorite parts are the petals and the stamens because according to him, these makes the flower look beautiful.
If you are interested, you can this Parts of the Flower and Definition booklet by clicking the image below:
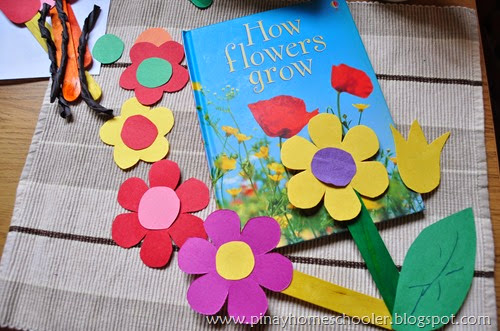
Afterwhich we read our book How Flowers Grow and look at the pictures of the different kinds of flowers around the world.
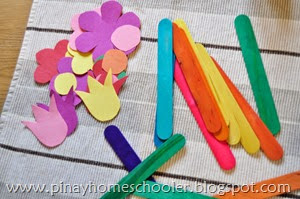
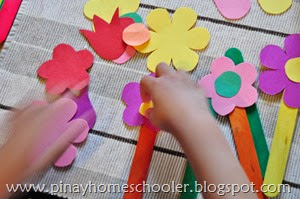
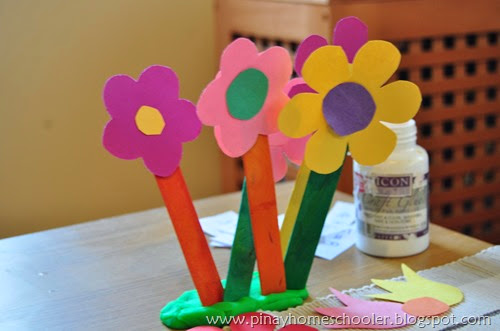
I was also inspired to make flowers in popsicle sticks. I love how these flowers turned out! You can place them in a vase and stick them using a playdough or clay :)
In our case, we found a purpose for these flowers in our math activity which I will talk about in my next post, so stay tuned!
For more FREEbies and learning aids, please check The Pinay Homeschooler Shop and Downloads.
Follow Pinay Homeschooler's board Botany Unit on Pinterest.Linking to:
Montessori Monday
TGIF Linky Party
Teach Beside Me
Preschool Corner
Teaching Mama
I Can Teach My Child
Home + School = Afterschool!
Natural Homeschool's Montessori Linky
The Solar System and The Planets II
Thursday, February 27, 2014
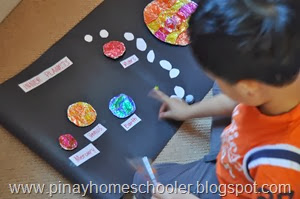
My son completed his mini project of our Solar System unit and he finally got to display it in his room. It was a simple project for my 5 years old, something that I made him work during the midterm break.
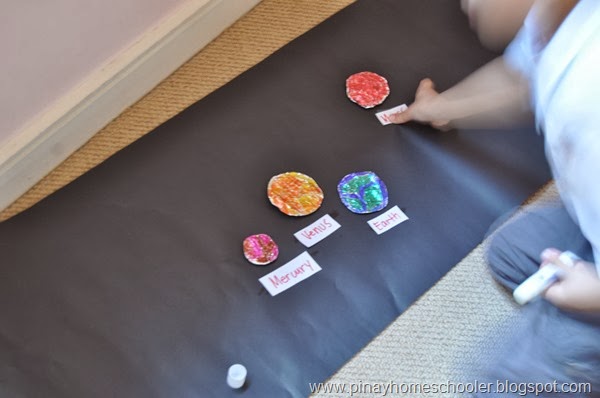
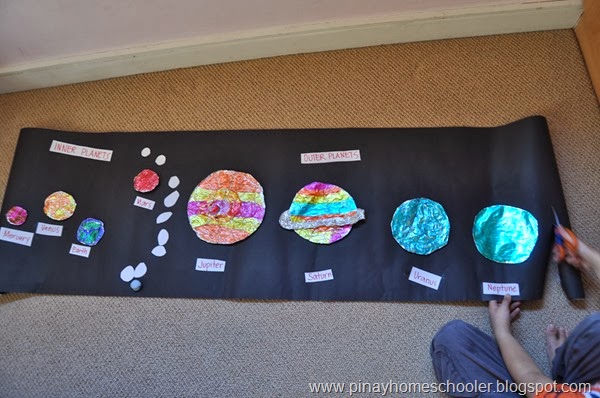
I mentioned this previously in my post that we're going to plot the planets in a black craft paper. First thing, he placed all the INNER PLANETS. My son memorizes the order so I made he did all the work here. I decided that it would be best to label the planets so he can memorize the spelling.
As you can see, we added "asteroids" after Mars.
Then he continued with the OUTER PLANETS.
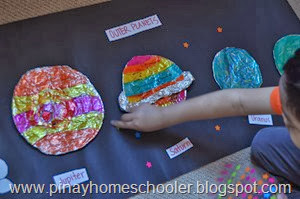
When everything is in place, he added stars (stickers).
And we both stick it on the wall using blutacks. And look how pretty it is! He was so happy how it turned out. He felt proud of what he has accomplished! And I have to say that the use of foil in planets made such a huge difference!! Now this is art and learning combined :)
Linking to:
Montessori Monday
TGIF Linky Party
Teach Beside Me
Preschool Corner
Teaching Mama
I Can Teach My Child
Home + School = Afterschool!
Natural Homeschool's Montessori Linky
Phases of the Moon
Monday, February 17, 2014
It's my son's midterm break and I'm happy that we could do lots of activities now that he's at home the entire week. Aside from the Internal Organs which we had earlier this month, we will also have lessons on Space and Astronomy.
Here are the activities we've been doing so far:
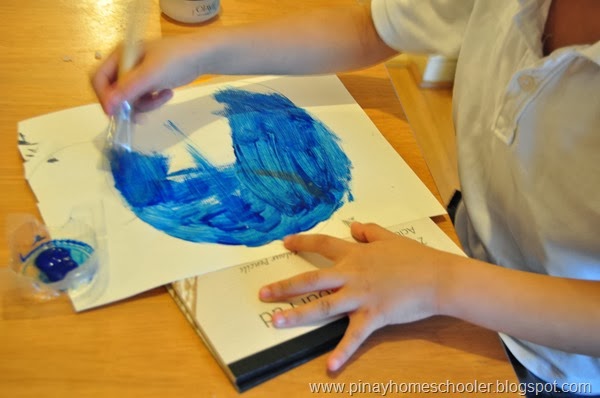
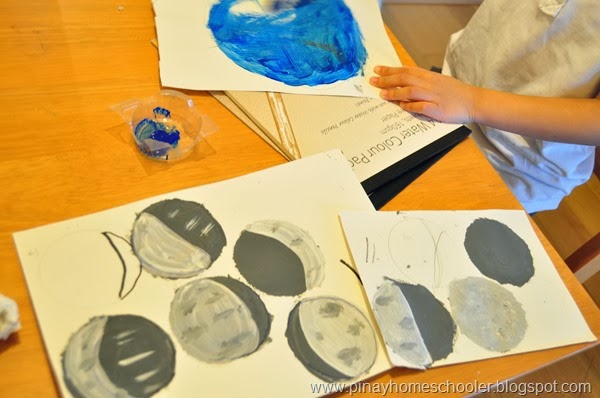
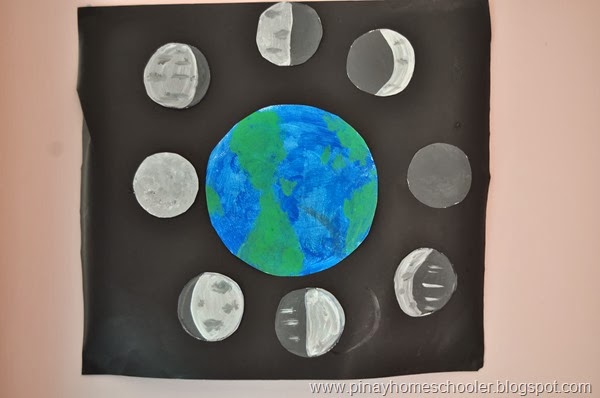
A Model of the Moon Phases. We painted the phases for this year instead of using our felt moons :)
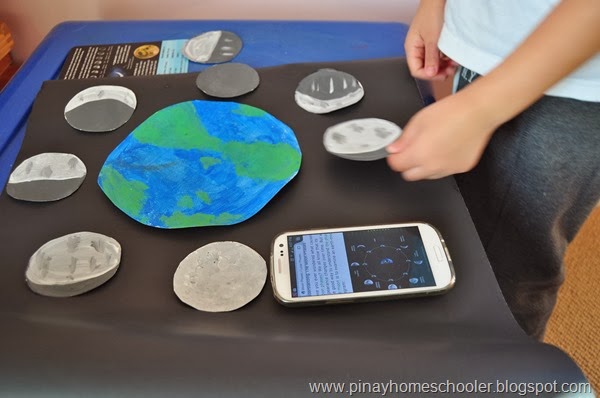
He arranged the phases using the cards that we have and a picture that we saw in Google.
And here's the finish product. This artwork is now in his room. He would refer to this at night whenever he checks for the phase the of the moon.
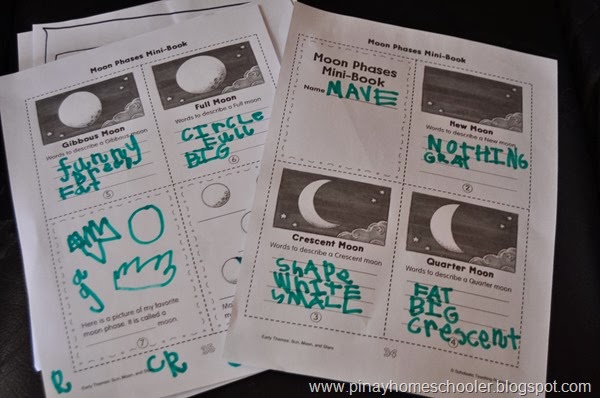
Observe and Describe. I also printed out this Moon Phases Mini-Book from Scholastic (please click the image below for the link of the file). Here Mavi gets to describe the different phases. I love how he can use one single word to describe the moon.
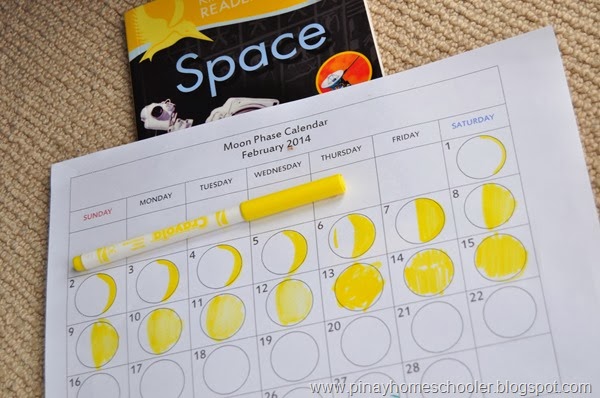
Moon Phase Calendar. Every night we're checking out the moon and record it in the calendar which I made. If you are interested I made a generic calendar which you can use. Just click on the image below for the link.
This recording will allow Mavi to learn how it all works!
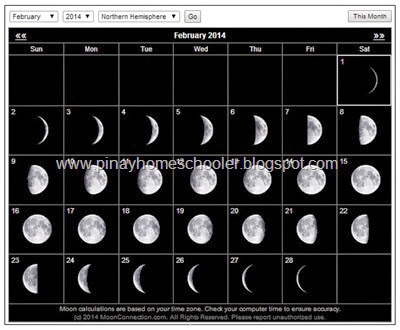
Below is our reference. We check this image (from Google) if the ones we are seeing is the same as the ones recorded in the internet :)
Here's a link to all astronomy related activities
that we have done so far.Linking to:
Montessori Monday
TGIF Linky Party
Teach Beside Me
Preschool Corner
Teaching Mama
I Can Teach My Child
Home + School = Afterschool!
Natural Homeschool's Montessori Linky
Continents Revisited
Monday, November 4, 2013
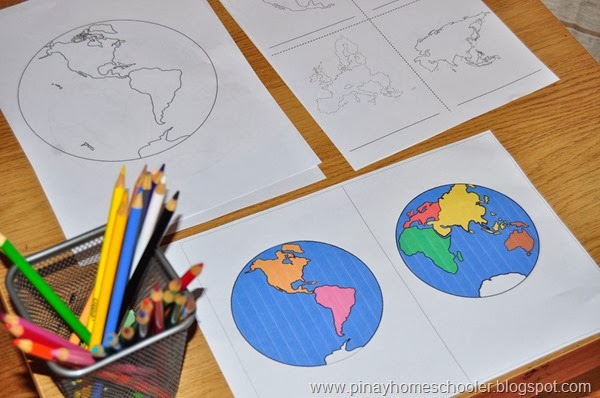
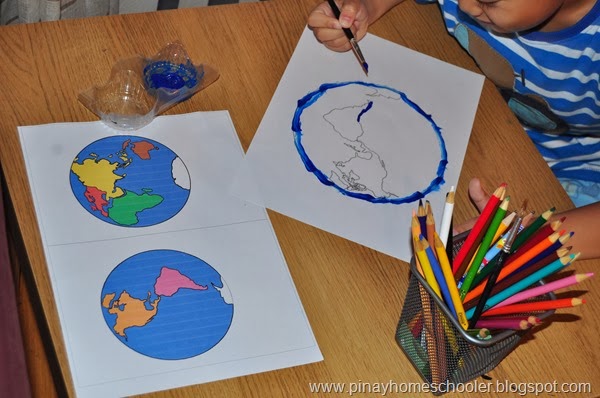
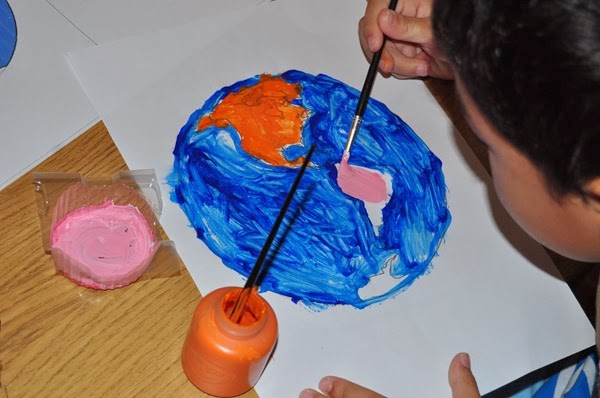
Okay so we haven't done serious "schooling" during the midterm break as I wanted then little boy to have some rest and recreation. In between Fresh Beat Band and Carrie and David's Popshop, I inserted a few math activities which he truly loved. Then just before the weekend, he asked if we could do "the world map" again. So what we did was paint the Montessori World Map. Mavi attended Montessori School last year and we've done a lot of Geography lessons, so he's very well familiar with this already.
Because we've done coloring a lot of times, I asked him to paint the map this time. I showed him some tricks so that he won't go over the outlines of the map.
Then we started mixing colors for the continents (what makes brown? what makes a pink color?).
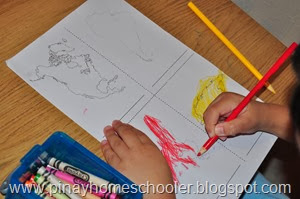
I printed an activity sheet from The Helpful Garden. I'm surprised he can easily identify the continents just by looking at their outlines even though we haven't done this for a a while now!
We'll be having visitors and they'll be staying with us this week so I am not sure if we can have after school activities. Wishing everyone a happy happy Monday!
Linking to:
Montessori Monday
TGIF Linky Party
Teach Beside Me
Preschool Corner
Teaching Mama
I Can Teach My Child
Home + School = Afterschool!
Aboriginal Arts
Monday, September 16, 2013
You've been following me on Facebook, I've shared pictures of our work of Aboriginal arts. This is still in line with our Australia study (Part I here). Sorry if some pictures are dark as we've been doing the activities late in the afternoon.
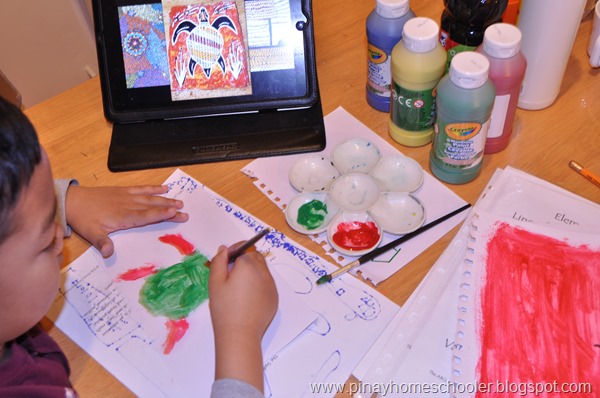
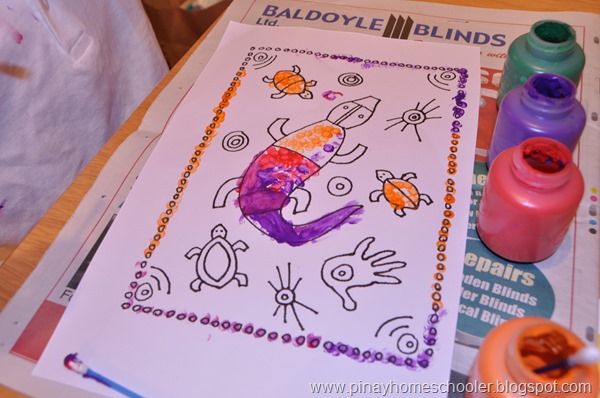
To start with, we talked about the Aborigines of Australia and how they use paintings or artworks to communicate. I used our trusted iPad to check some pictures of the artworks and made my son choose which one he wanted to replicate (he wanted the turtle).
I also pointed out that most arts of the Aborigine people uses the technique of Pointillism. We talked about how we can execute it using the back of pencils or using Qtips/buds.
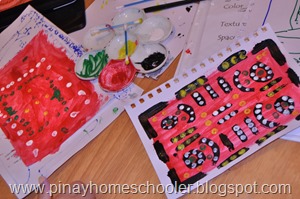
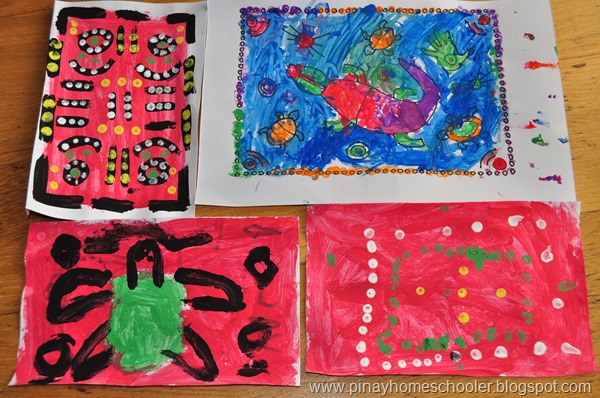
When we're done studying the pictures, we started making our version as well. Here we used red background with contrasting colors for the dots.
Another day he asked if we could do it again. And this time I printed out from a random Google search a ready made art for him to color.
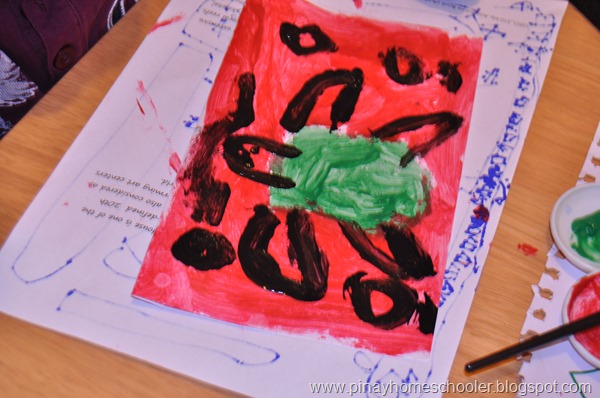
We allowed all the artworks to dry and here's how they look like now that they're dry. The one on the upper left is my work :)
My son enjoyed the painting, especially with animals on it. The problem is that he doesn't like pointillism, for he gets tired after making a few dots.
Linking to:
Montessori Monday
TGIF Linky Party
Teach Beside Me
Preschool Corner
Teaching Mama
I Can Teach My Child
Trees in 4 Seasons
Tuesday, June 25, 2013
We made these wonderful trees last week and I think it deserves a post!
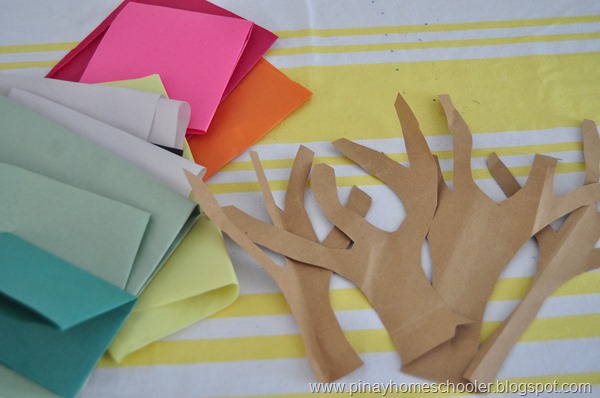
Materials needed: some colored tissue paper and 4 tree trunks (cut-out from paper bags)
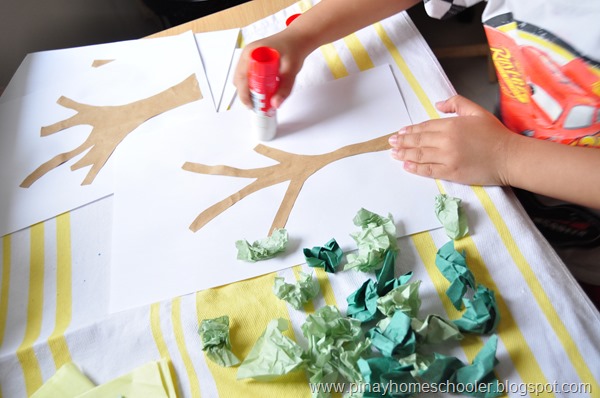
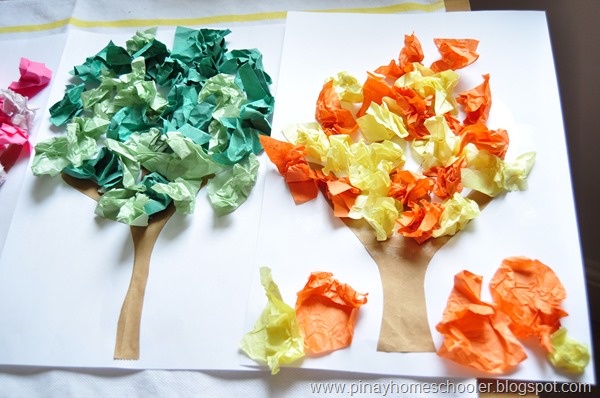
Cut the tissue paper into small pieces and crumple each. For the trunks, glue them on a white paper or cardstock. You might work on one tree at a time. Such as here, we started with summer... thus the green tissue. I also advice to use some range from light to dark colors for some accent. My son had fun gluing the leaves on the trees!
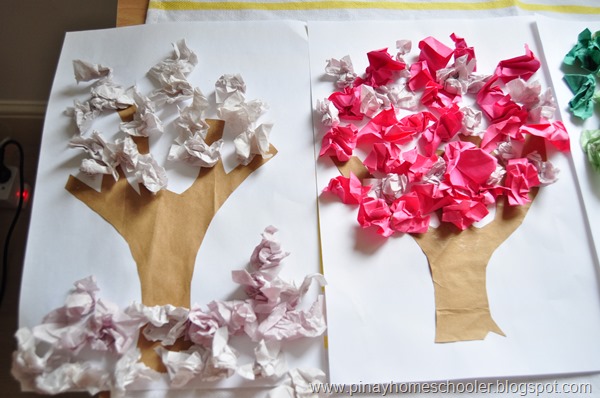
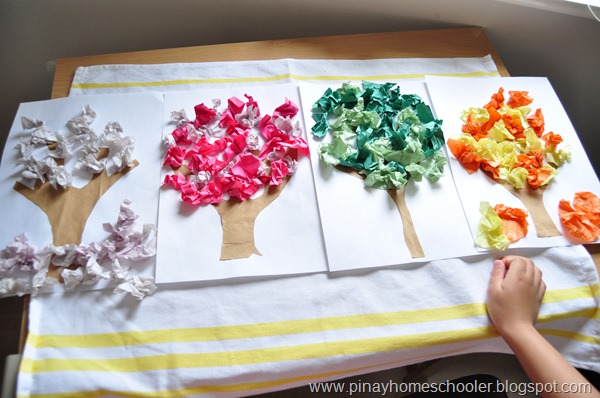
Here's our winter and spring trees. My son decorated the winter tree with some "snowy leaves" on the ground and leaving the tree almost bare. Our spring tree is a Cherry Blossom thus the color pink.
For summer, we have light and dark green leaves and for autumn he wanted yellow and orange with leaves on the ground.
And this is how they turned out... and I love it! They all look good together! I'll find a suitable frame for them so I could hang and display them in sitting room:)
Linking to:
Montessori Monday
TGIF Linky Party
Teach Beside Me
Preschool Corner
Spring Carnival

